I have been a Mac user for more than 6 years now, yet occasionally I have been
attracted by Linux. Compared with Mac, I like the complete openess of Linux
systems and the communications in the Linux user community.
I started with Ubuntu, and after some time of usage I did not like unity, which
was then the default GUI. Being a newbie, I did not realize I could change the
GUI, but went on to try Debian. I do not remember how that went. Trying Arch
Linux was quite challenging, as the installation itself was rather complicated
and took me more than an hour, doing the partitions, configurations…I must admit
there is a steep learning curve for Arch Linux - to know AUR, learn to use
pacman instead of apt-get, etc. I still think it is a good distribution
(that has so many die hard fans), and it is very flexible in the sense that you
can tweak everything and make it really ‘yours’. It just did not appeal to me.
Therefore I finally chose Manjaro - the distribution that uses rolling release,
but is easier to use than Arch Linux.
So, what do these have to do with the topic of this post? Well - I purchased a bunch of computer parts during the holiday season, and wanted to assemble them by myself to make a powerful desktop, and then install Linux on it, turning it into my own super server that does everything - computing, latex compiling, Wechat forwarding, and many others. Here is a list of parts that I bought.
- CPU: AMD Ryzen™ 9 3900X
- SSD: SAMSUNG 970 EVO M.2 2280 500GB SSD
- Motherbaord: GIGABYTE X570 AORUS ELITE
- Memory: G.SKILL Trident Z Neo (For AMD Ryzen) Series 4 x 16GB
- Cooler: Cooler Master MasterLiquid Lite ML240L RGB AIO CPU Liquid Cooler
- Video card: Sapphire PULSE Radeon RX 570 4GB
- Power supply: EVGA SuperNOVA 850 G5, 80 Plus Gold 850W
- Tower: NZXT H510
1. Building the Machine
The first obstacle I encountered is that there does not seem to be a parts box when I opened the packaging of the tower, nor any instruction manual. After some search the parts box and manual turned out to be in a small compartment inside the tower, near the position for power supply (the space on the lower right of this figure).
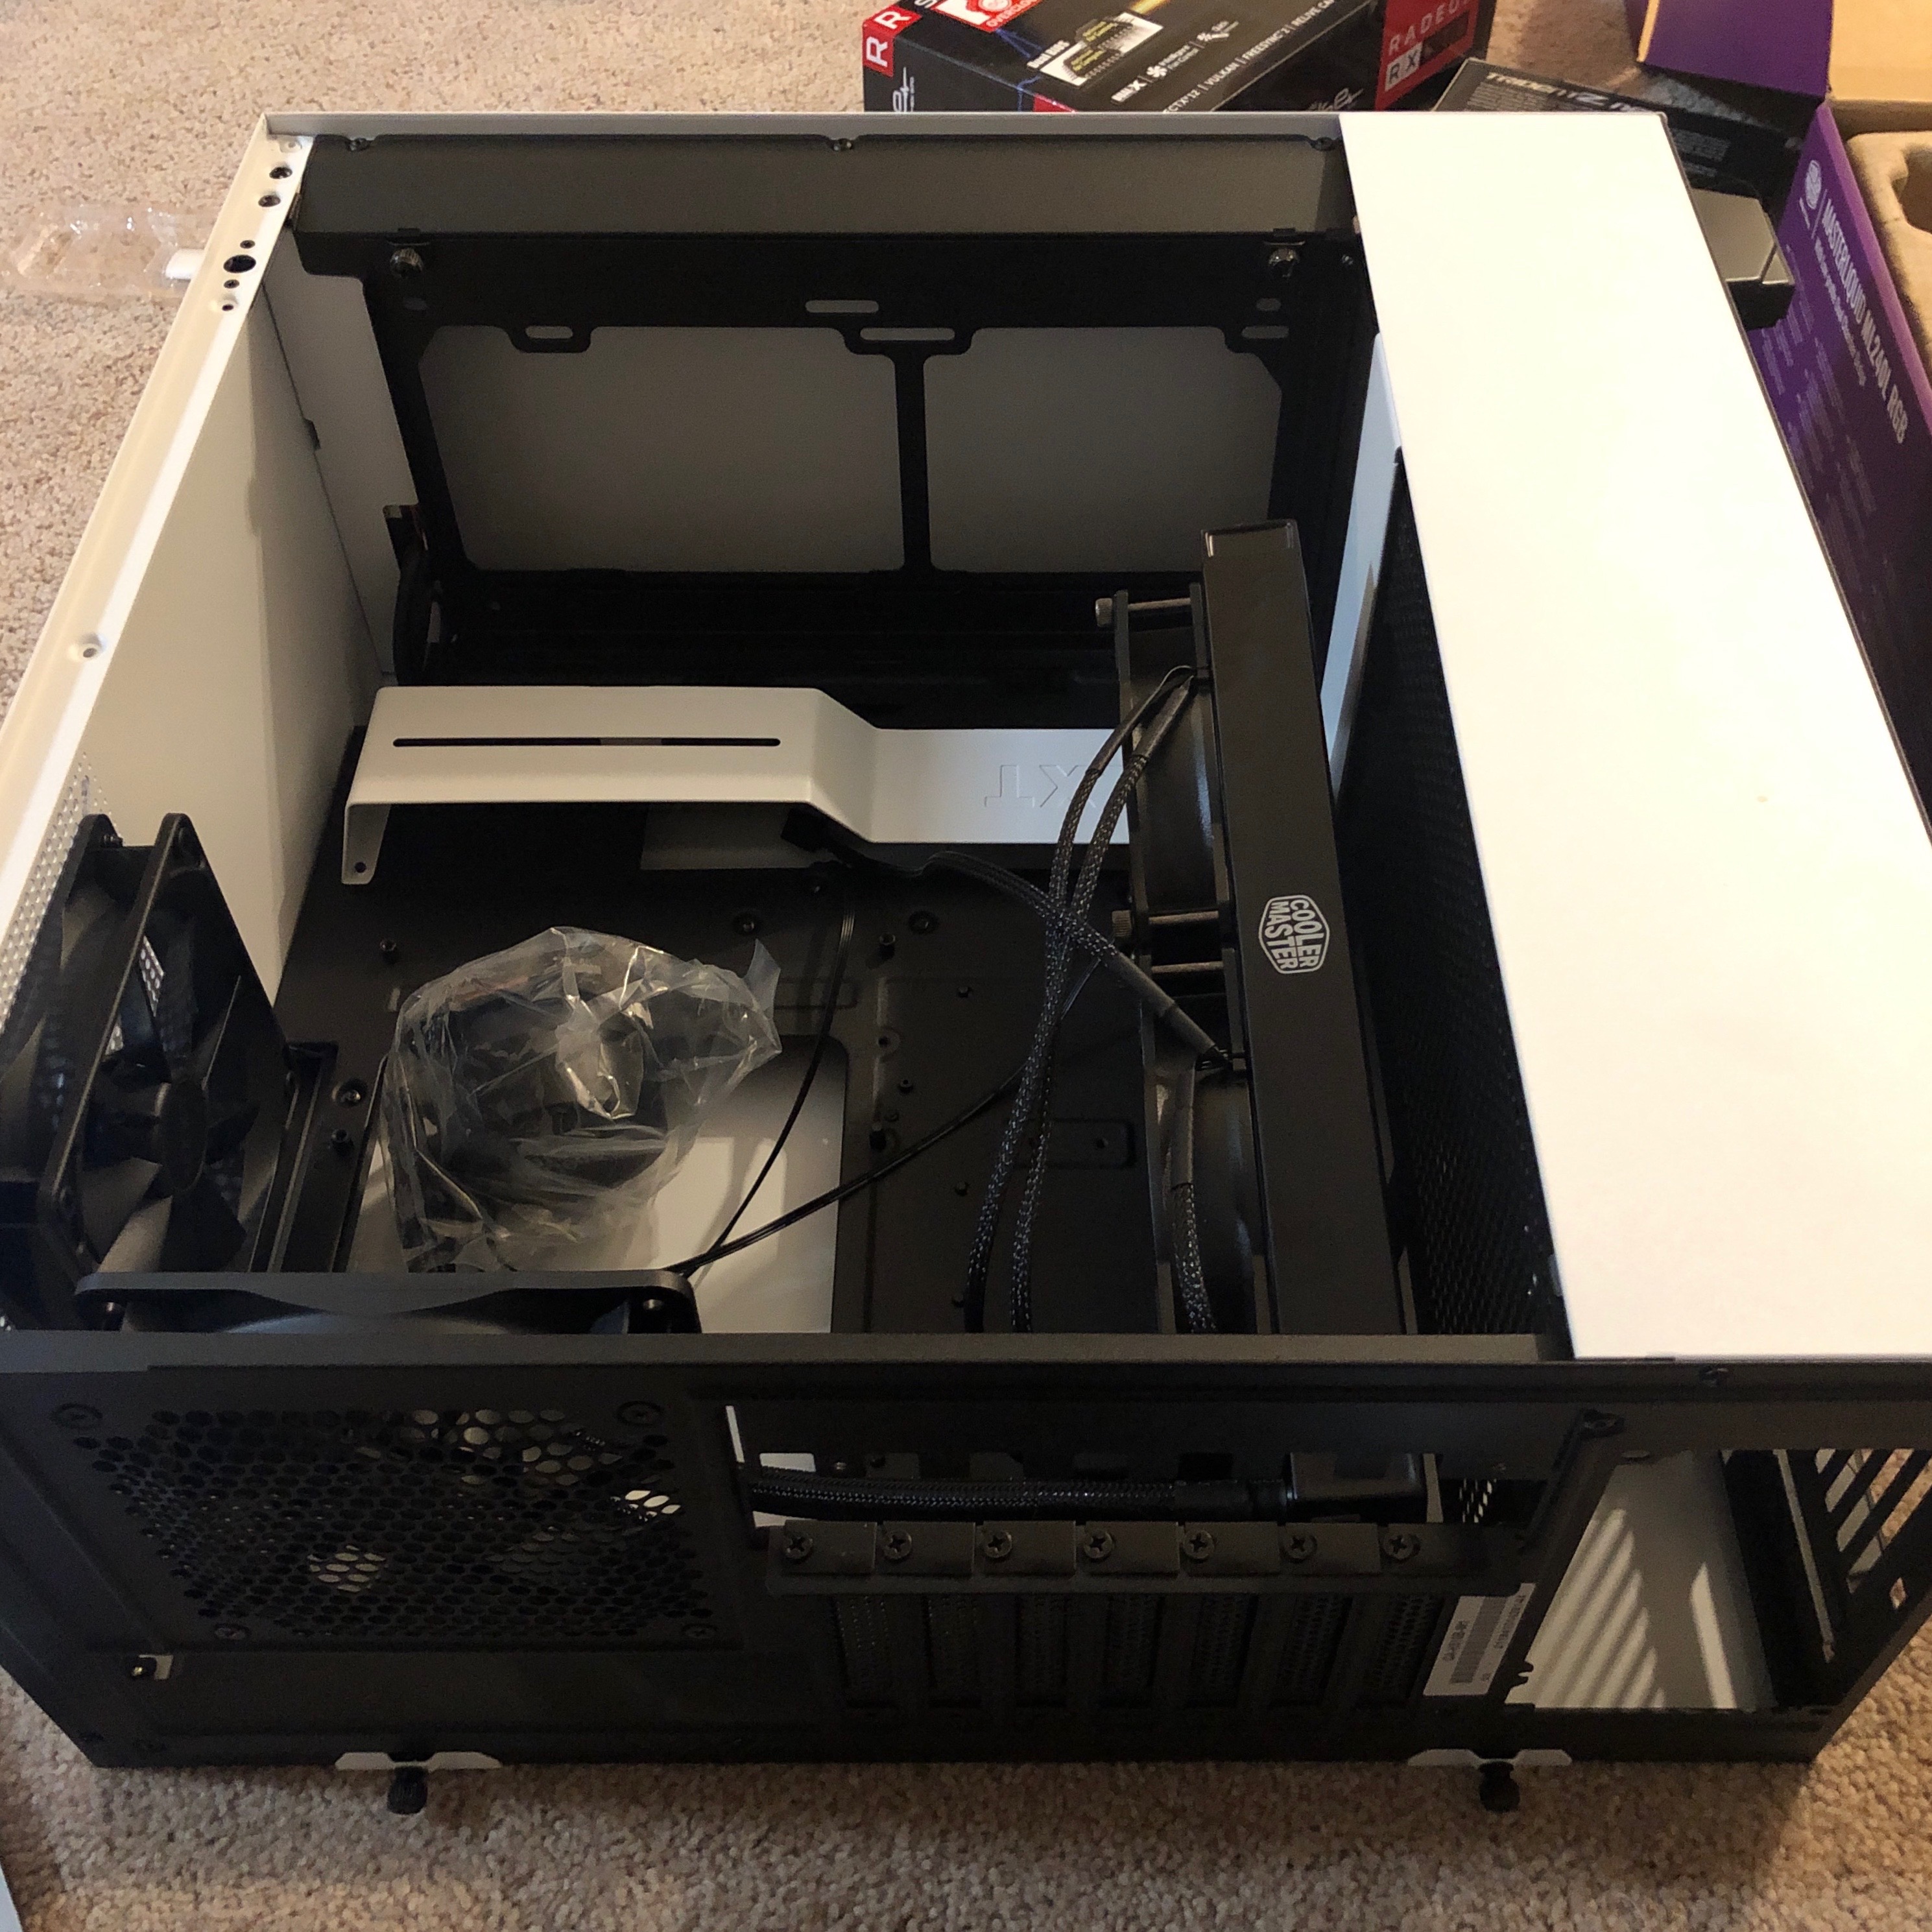
As can be seen I was trying to figure out where to place the fans for cooler, and in the beginning I thought it was the on the botton, where there is a whole area with perforated holes, which I suppose was for fitting different sizes of different parts. After reading the tower’s user manual I realized it should be at the front inside of the tower, and finally got it correctly installed.
The next step was to install the motherboard. This step is quite straightforward as there are clearly marked screw holes. After having it attached to the tower I proceeded with the SSD. There seem to be different sizes for SSD, including 80mm and 110mm (and may others I might not know). This is important as you do not only want to plug it in the right connector, but also need to use a screw to fix its other end.
Attaching the CPU to the motherboard is also easy in theory. However, extra care needs to be taken in this step as you do not want to damage any pin on the socket. The cooler then can be fixed on top of the CPU. Note that the thermal paste needs to be well spreaded between them to ensure good heat performance.
The video card and power supply were next installed, which I feel was the easiest part. Then I started attaching all the cables. I am glad that the cables are, again, idiot proof, and with the guide of YouTube videos and installation manuals I was able to attached the basic set of cables that are required to power on the machine. I am not a fan of all the RGB lights from the fans and memory modules, but I was very happy to see it power up.
2. Installation of Operating System
(Update from 08/27/2020) After a long time struggle with Linux systems I decided to give up, and use Windows 10 as the operating system on this machine. After all, my purpose of buying a power CPU is to run code on it, not to practice operating system installation.
I initially did not want to use Windows due to my obsession with command line,
and the Windows terminal has been notoriously hard to use. However,
Windows Subsystem for Linux (WSL) proves to be a great solution. Basically
it installs an Ubuntu inside Windows, and you get all the great tools,
such as command line, apt-get, and many others. git also works better on
WSL, in my opinion, as compared to the Windows version Git bash.